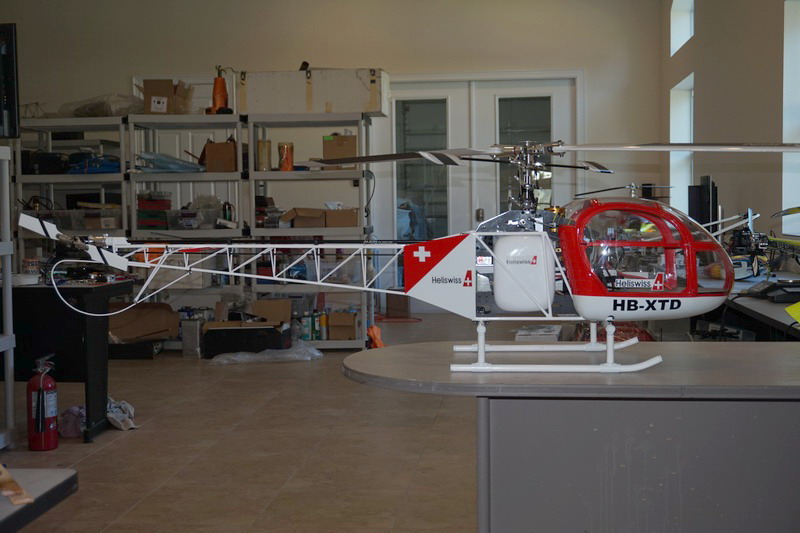
A Lama for Marcus
My Grandson Marcus has showed some interest and a lot of skill in flying helicopters and has been doing pretty well with the Jayhawk I bought him at Top Gun. However, a tail drive failure caused the total demise of that helicopter and so he needs a replacement. I selected a Vario Lama for the Trex 700 as a good model for him to fly. A bit bigger and no cocked up tail drive to worry about.
The first thing I did was to contact Jon Tanner, editor of Model Helicopter World and ask him how he is getting on with the one he built. he gave me some valuable tips and advised me that the mechanics to go for were the fly bar version of the 700. Apparently he was told the DFC version would not fit, but having built a DFC version for another model and tried to fit it, I would think that was not the case. Anyway, I enjoyed the nostalgia of building a fly bar model with no head gyros to set up.

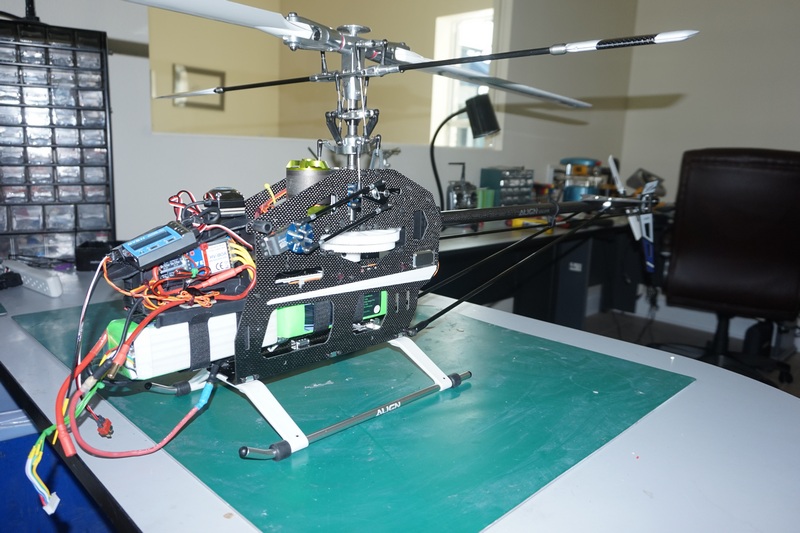
This is the finished mechanics after a test flight. The motor was one I had lying around and is only 300kv which gave me a maximum head speed of 1250 rpm. Amazingly, I got 21 minutes of flying time on it and still had some battery left, but the head speed was a bit low and lefty no margin to increase it so a new motor at 385 kv has been ordered.
The installation of the electronics is a bit haphazard, but it will be coming out as I want to remove the battery tray and mount the electronics elsewhere. I also intend to update the rotor head and tail rotor to 3 blade parts at a later date when Marcus has got familiar with the setup as it is.
Meanwhile I had sent the lattice and landing gear out for powder coating and it was well worth the $80 to have it done.

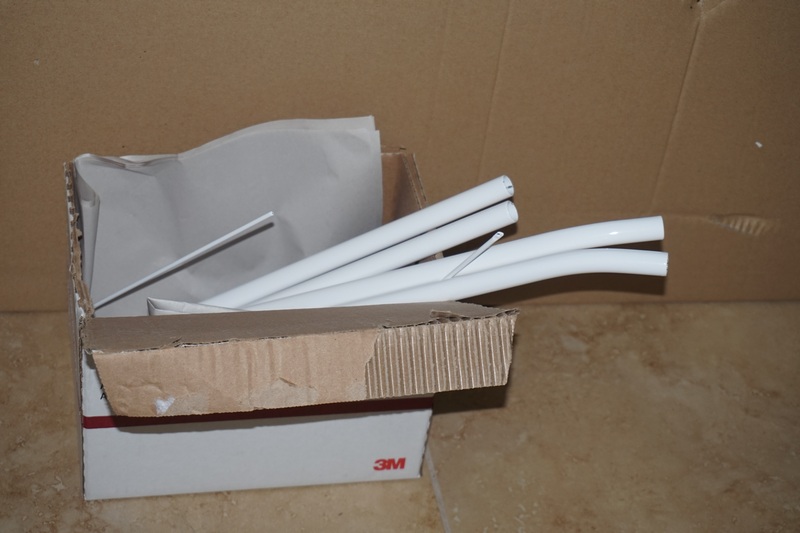
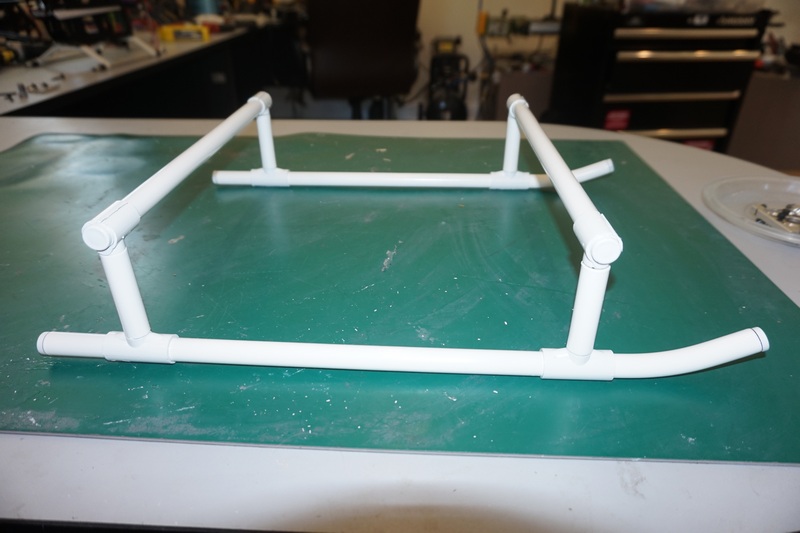
While I wait for the new motor I assembled the landing gear. Vario supplied the usual plastic "T" and "L" pieces to hold it together and suggested gluing and screwing all the parts together. As I had to assemble the landing gear with a plastic hammer, I decided gluing as well as screwing was a bit over kill. They supply two brackets which biolt through "U" clamps to hold the landing gear to the chassis. You have to have these in position to judge where to put the "T" clamps.
Then it was back to the spray booth to paint the black plastic parts with Krylon rattle can plastic paint.
Then the new motor arrived and by the time I had it installed, so had a 20 mph wind. The test flight will have to wait until tomorrow now.
In the calm of post dawn, I set the motor speed up for the best flying characteristics and it turned out to be 1380 rpm. This heli flies beautifully, why the heck do we spend hundreds of dollars to eliminate a $3 flybar?
So, next I took the landing gear off and replaced the screws so as to hold the bottom plate in position. Then I bolted on the two side frame mounts

Then came major surgery. The tail boom and pitch control rod came off. The battery tray with all the electronics came out to be replaced by a piece of plastic to support the servos
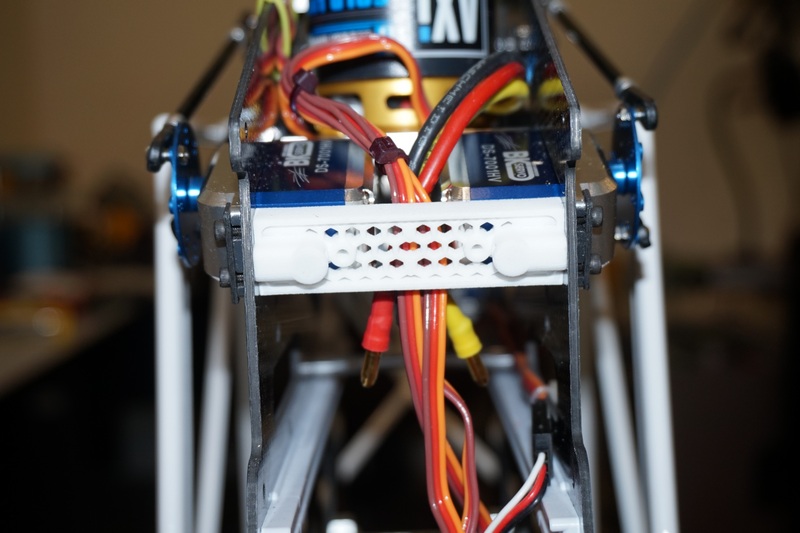
Finally the mechanics were assembled into the lattice. Now its starting to look like a Lama
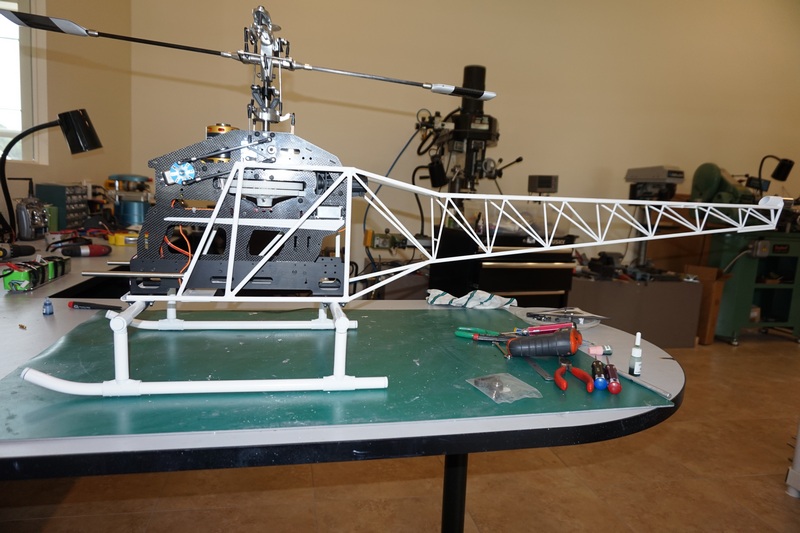
The horizontal stabs were drilled and fitted. They will need to come off for painting so they haven't been glued in position yet.
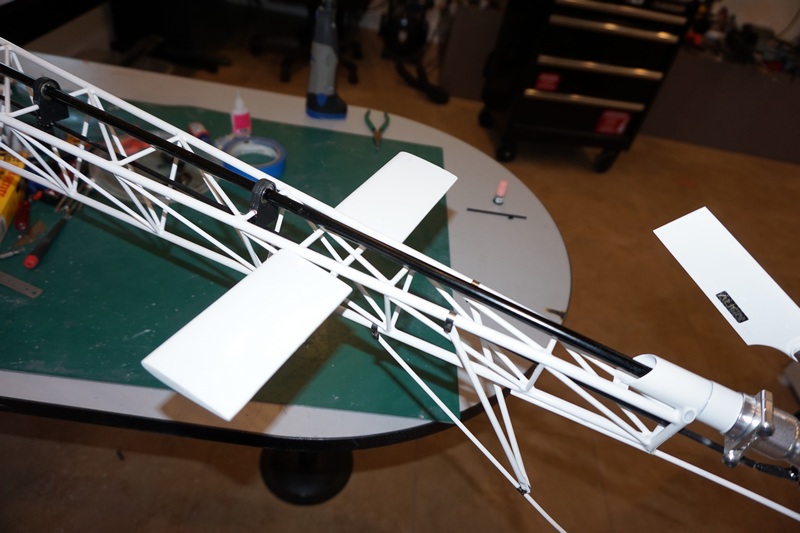
The tail guard and support struts are fitted, and again may need to come off for painting. They seem to be yellow no matter what color scheme I select.

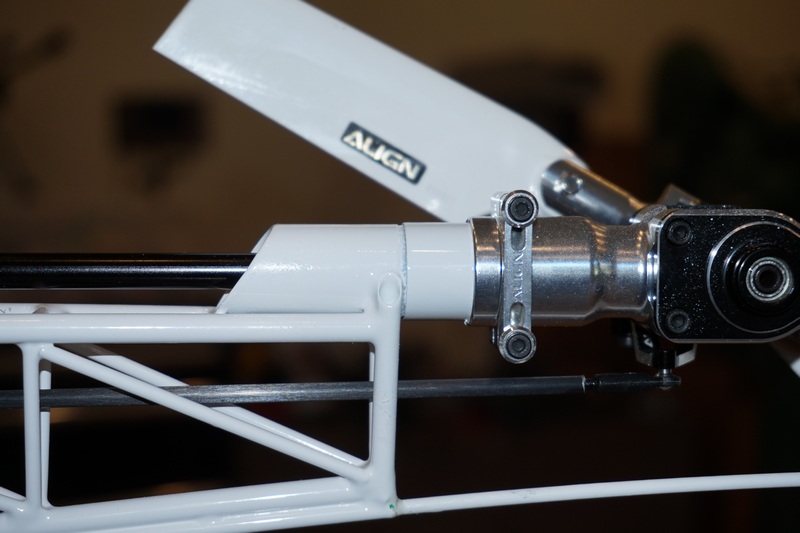
The tail rotor gear box is fitted. For some reason Vario decided to fit a tube on the end of the lattice for the gearbox, which was too small and too short. So. you have to cut a piece of a Trex tail boom and glue it in place and then drill and fit the existing clamp assembly....after you have painted it of course
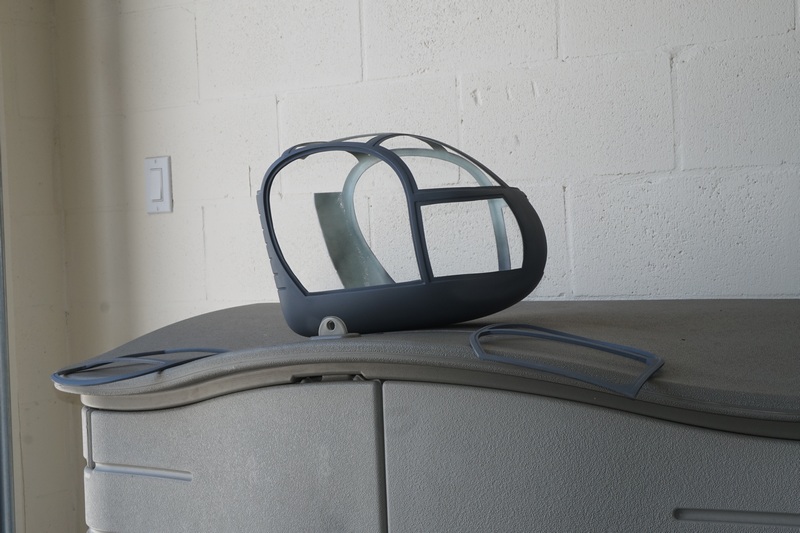
A couple of happy days cutting out window glass, windows frames, door frames and then sanding, priming, filling, sanding, priming and wet sanding, oh joy. Well at least its done but now its the woodwork and I had a quick go at getting that out of the sheet and realized it wont be a quick and easy job either, so I jumped in the pool for a nice swim. Well it is 85 degrees out there in November.
Vario have entered the laser cut wood era, and have a lot to learn it seems. The wood supplied was 1/4" thick and had been cut with a fine laser beam with several passes. I guess that from the fact that the cut was very narrow and there was little or no external burning. This meant that the tabs were very difficult to see, the back was not completely cut and the slot was too small for a knife blade. Some of the tabs were on curved corners which made it even more difficult to cut the wood out. I compromised by chopping a utility knife blade into several pieces which I held with a pair of vice grips, and then I whacked them through where I thought the tabs were with a small hammer. After a couple of hours I managed to get all the pieces out. I assembled it all dry and then took it apart and glued it together with Evo stick white PVA wood glue.
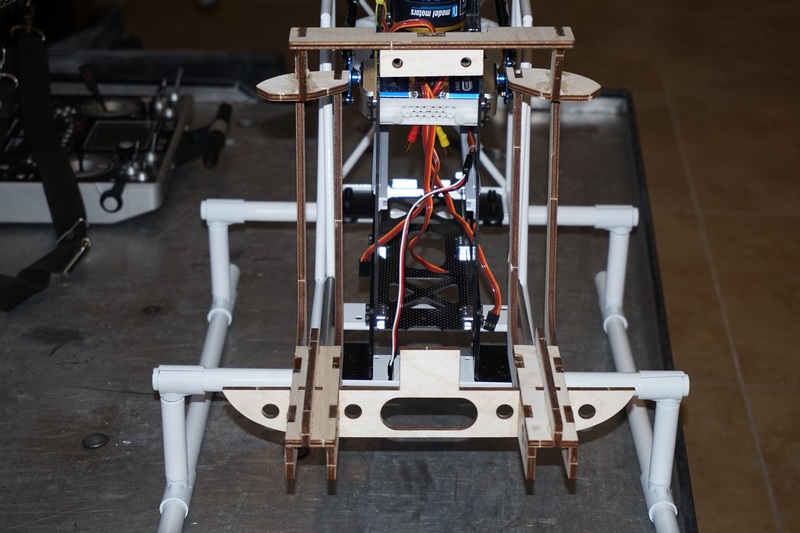
The uncoated tubes on the chassis are supposed to slide in to some aluminum tubes mounted in the woodwork and there is a hole in the front cross member to locate the aluminum tubes. Unfortunately it's in the wrong place
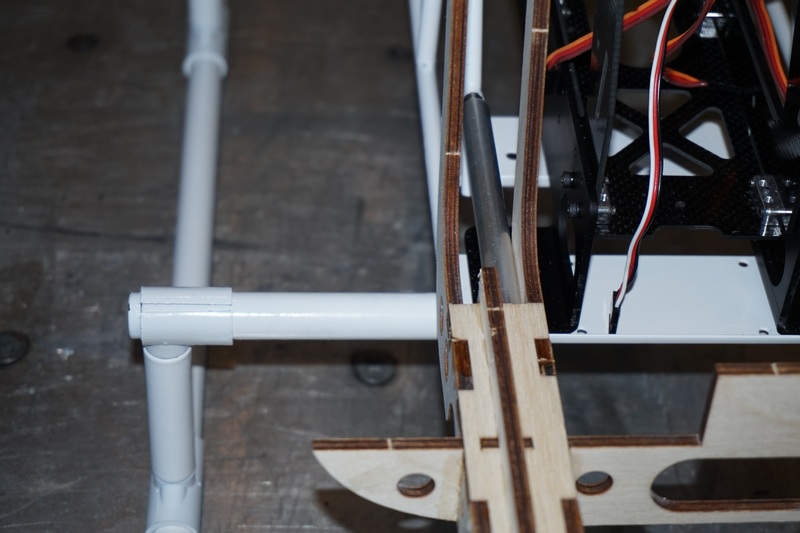
As you can see, the tubes need to be along the side of the wood
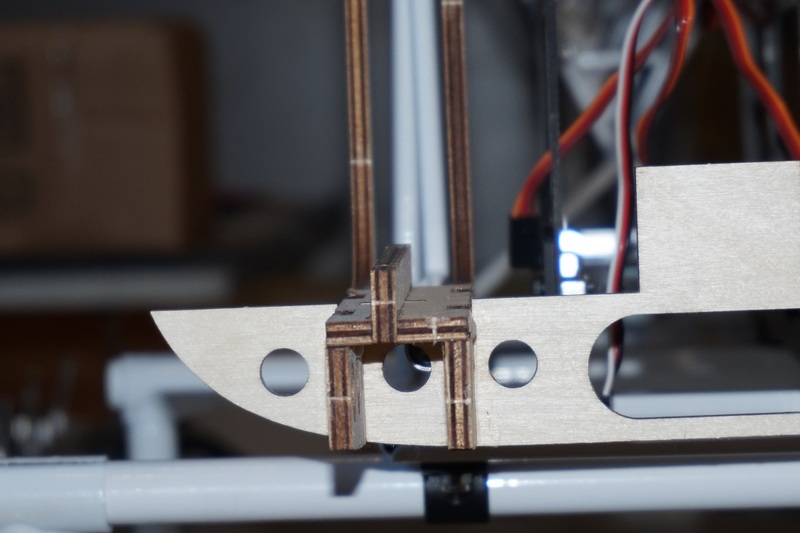
But the hole is in the middle. So, tomorrow I get to do some filing and fettling to make it all fit before gluing the wood work into the cabin.
A post on Runryder soon had me corrected. The tube does not go in the middle but on the top. This lowers the cabin down some and then problem after problem began to rear their ugly heads. First, the cabin could not go back far enough as the inner uprights hit the servo wheels. The uprights got cut off. They seemed to serve no purpose anyway as they were in the middle of the cut out so could not be glued to the cabin. Then came the problem of being able to slide the cabin in and out easily. Now it was lower, the bulge for the landing gear cross member fouled the flat of the cabin floor so sanding was needed to raise the cabin up to clear it. About 1/4" was taken off the wooden chassis. Then the back part did not line up properly with the curve at the top of the cabin on either side, and so it went on. 2 hours of sanding finally got the cabin to where I could get it in and out, I hope! Its difficult to tell when everything is loose. So I glued the tubes into the cabin, let them set and then tacked the chassis to the cabin. Tomorrow, when the PFM has set, I will know whether I got it right or not. The good thing about PFM glue is that you can get it apart if you want to, but if you don't want it to come apart, it won't.
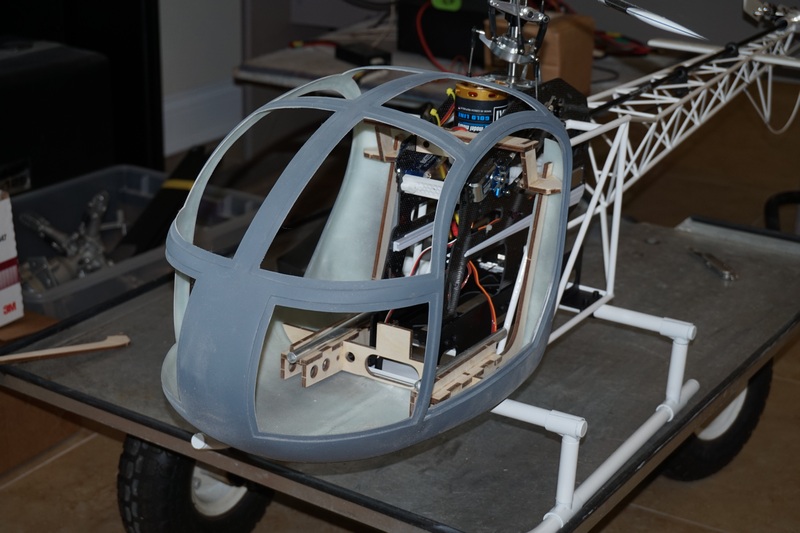
It seems I got that bit right. The cabin comes off fairly easily and snaps back into place. Now I have fitted the top magnets, added the horseshoe woodwork under the floor and fitted the floor but not screwed it down yet. Only Vario could supply the floor as an "extra" and charge you for it!
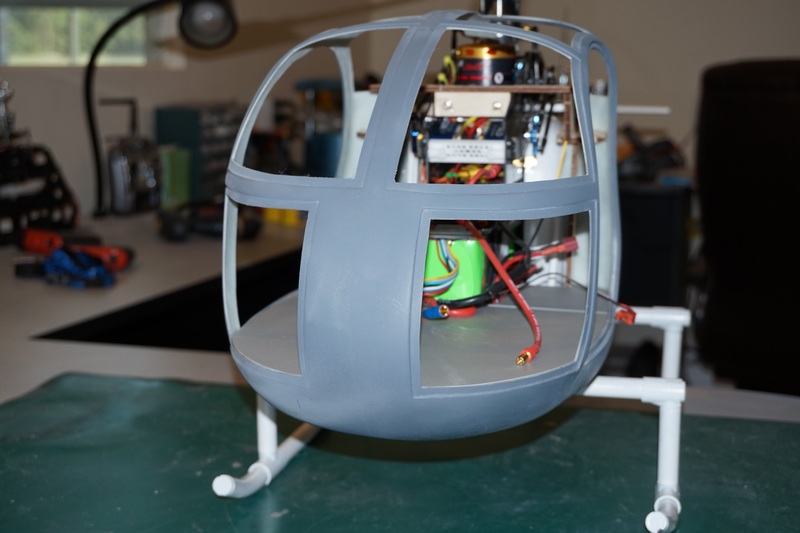
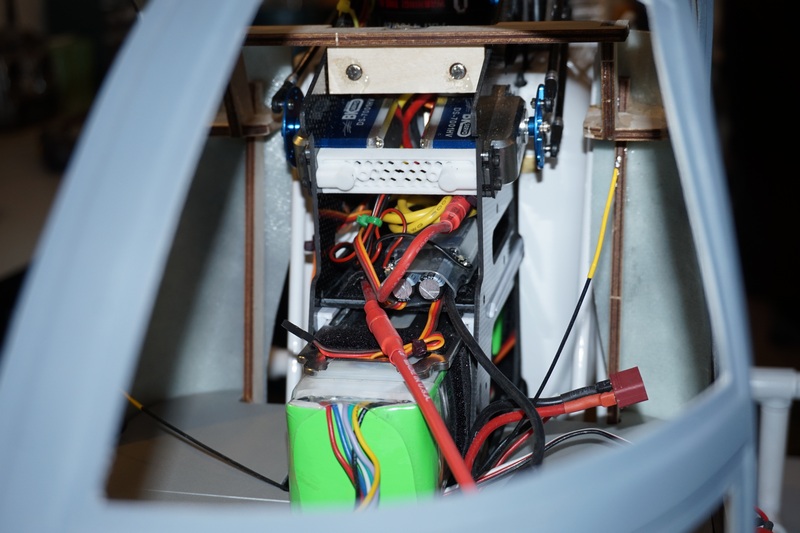
The electronics have been fitted with the receiver and gyro under the battery and the ESC above. The wiring needs a bit of sorting out to make it a bit more practical. The Rx battery is under the chassis, on top of the lattice base.
The side "fuel tanks" have been shaped and fitted. I love the way the instructions say slide them between the lattice and the mechanics from underneath. I'd like to see someone from Vario do that!
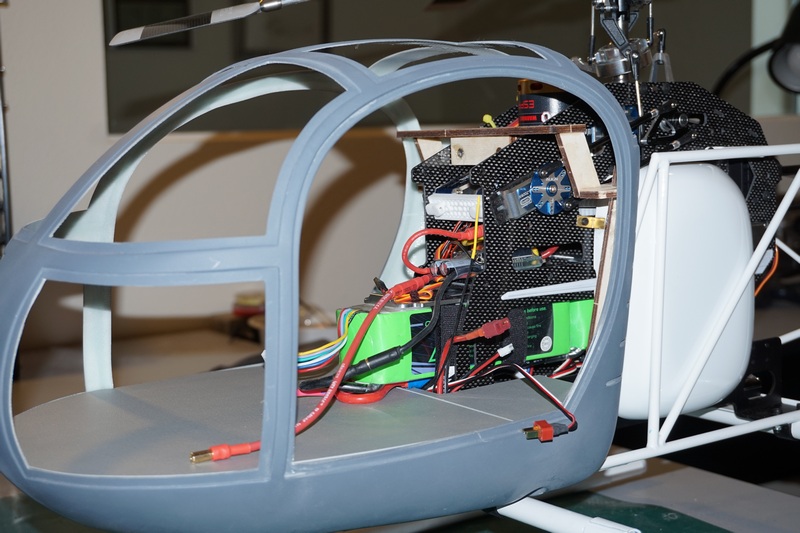
Then I took it outside in a stiff breeze and had a test hover. It flew! A good day
Yesterday I spent the day fitting the windows and doors. Once again Vario pulls a fast one. You get nice doors, but if you want them to open you have to buy the Alouette 2 fitting kit.
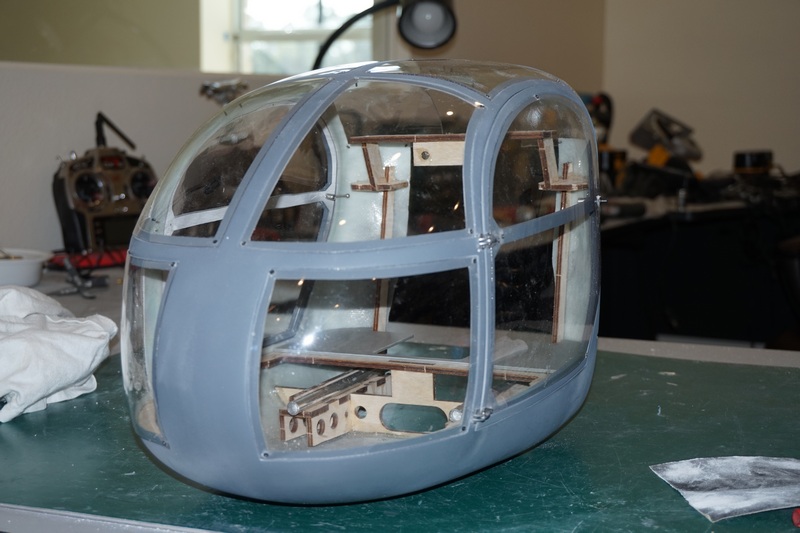
And today, I took it all apart and sanded the parts to be painted with 600 grit wet and dry, dunked in clean water. Then it was off to the spray booth
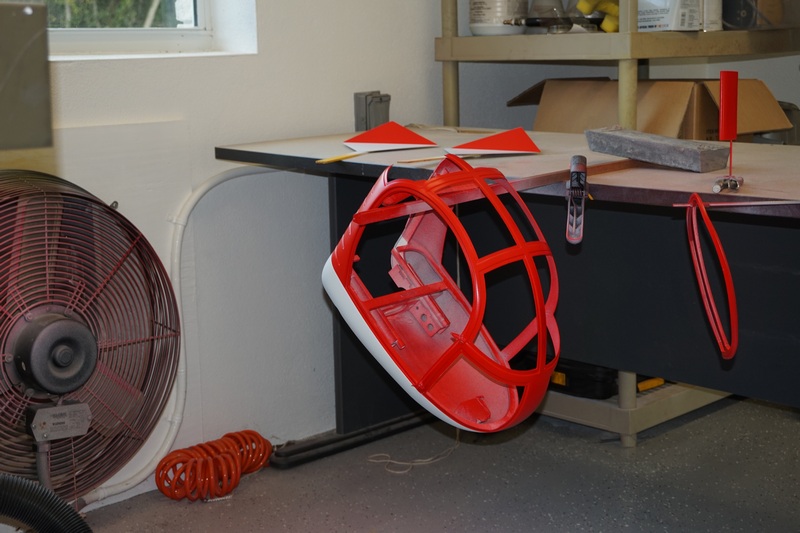
Now I am going to let it dry completely and then another wet sanding before clear coat tomorrow.
I gave it a quick splash of clear this morning before going out to fly. Its set hard already, 2 hours later, but I will wait until tomorrow before handling it just to be sure everything is really rock hard.
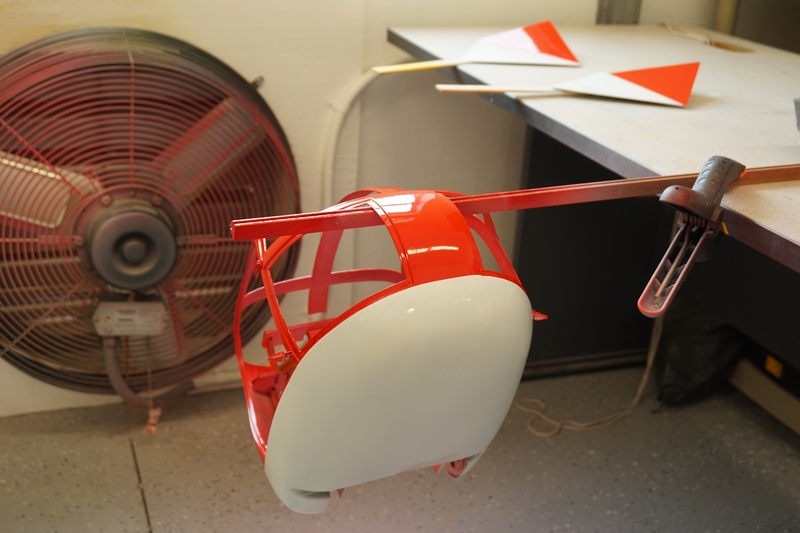
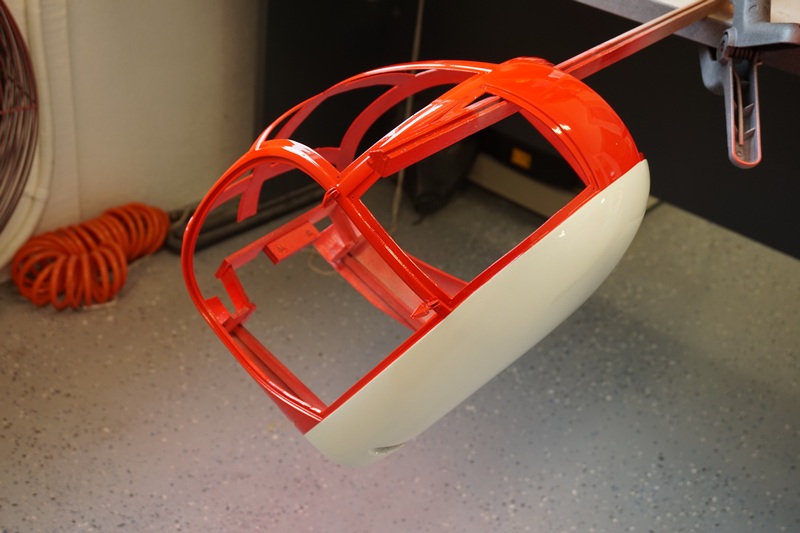
I have spent the last few minutes cutting out some decals on my printer cutter ready to decorate the cabin and rear covers. Now I have to start looking at scale details like the cabin interior and the turbine.
All assembled and some stickers on.
